Happy Trash to Treasure Day! I say that like it’s a holiday, but it kind of is in my little world.
It’s the one day of the month I have to force myself to pick up a “hunk a junk” and find the beauty buried in it. Some days, I’m bursting with ideas and galloping along ready to hurdle every thrift store find in my path.
And other days, I tell my brain to giddy-up and nothing happens. (Not sure where this horse metaphor is coming from, but whatever.)

It was almost a no-giddy-up month. I blame it on our local thrift stores having a dry spell of the good stuff lately. But then this cutie came along last week…

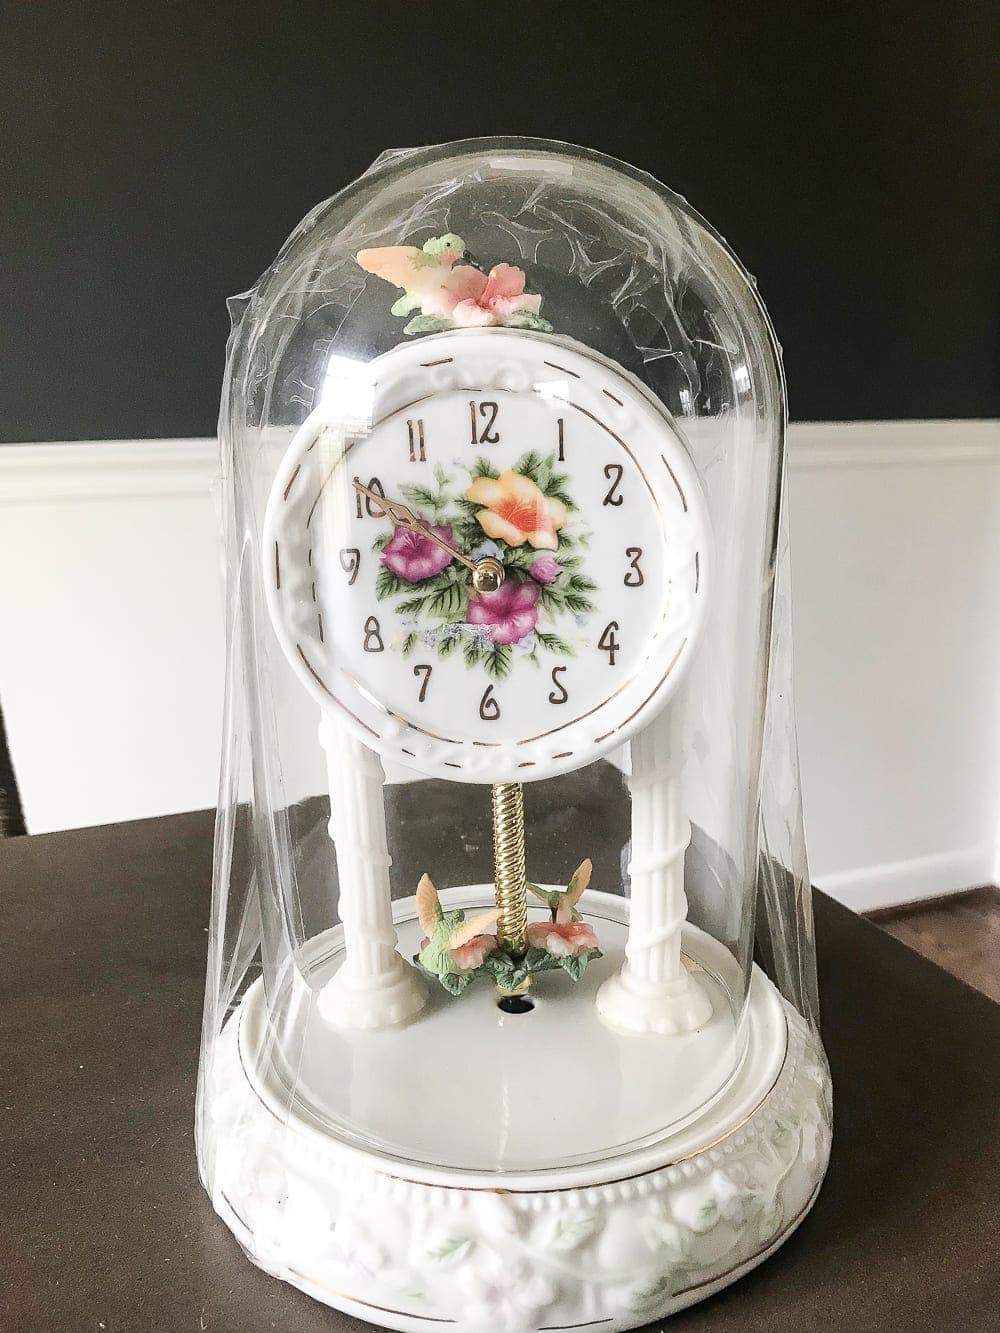
Adorable, right?! I find dome clocks all the time while thrifting, but this one was just begging to be used in a little girl room. And since I’m starting Olivia’s bedroom makeover this week, my first thought said, “Fill it with butterflies!”
Turning dome clocks into cloches is one of my favorite things to do. They are so versatile because you can put anything that will fit in them and change them up with the seasons. At Christmas, I roll up sheet music and put the scrolls under the cloche or put in some fairy lights or snow villages. In the fall, I put in a baby pumpkin or two. I’ve stuck in decorative bird nests and flowers and whatever will bring hints of the season indoors.
Cloches are around $100 at Restoration Hardware. My little dome clock was $7. Boo-yah! And an authentic Victorian butterfly study cloche would cost even more.

Supplies Used:
- Thrifted dome clock
- Butterfly printable on card stock
- Small Phillips head screwdriver
- Scissors
- Hot glue gun and hot glue sticks
- A twig (I just snagged one from a tree in our backyard.)
- Moss (I got a pack at Michael’s for $4)
If you want the butterfly printable, you can subscribe to my email list to get the download here or click the button below:
(If you’re already a subscriber, the download is already in your email today, or you can access it from the printable library here. [The password is at the bottom of every email I send.])
To print the butterflies, I ran one sheet of paper front and back through my printer with a mirrored image on the back so that the butterflies would be double-sided when I cut them out.
Or you could just use a glue stick to paste two one-sided butterfly cut-outs together so the colors show on both sides, if you can’t print front and back.

1. I chose a few of the butterflies I liked the best and cut them out with scissors to set aside while I worked on the clock.

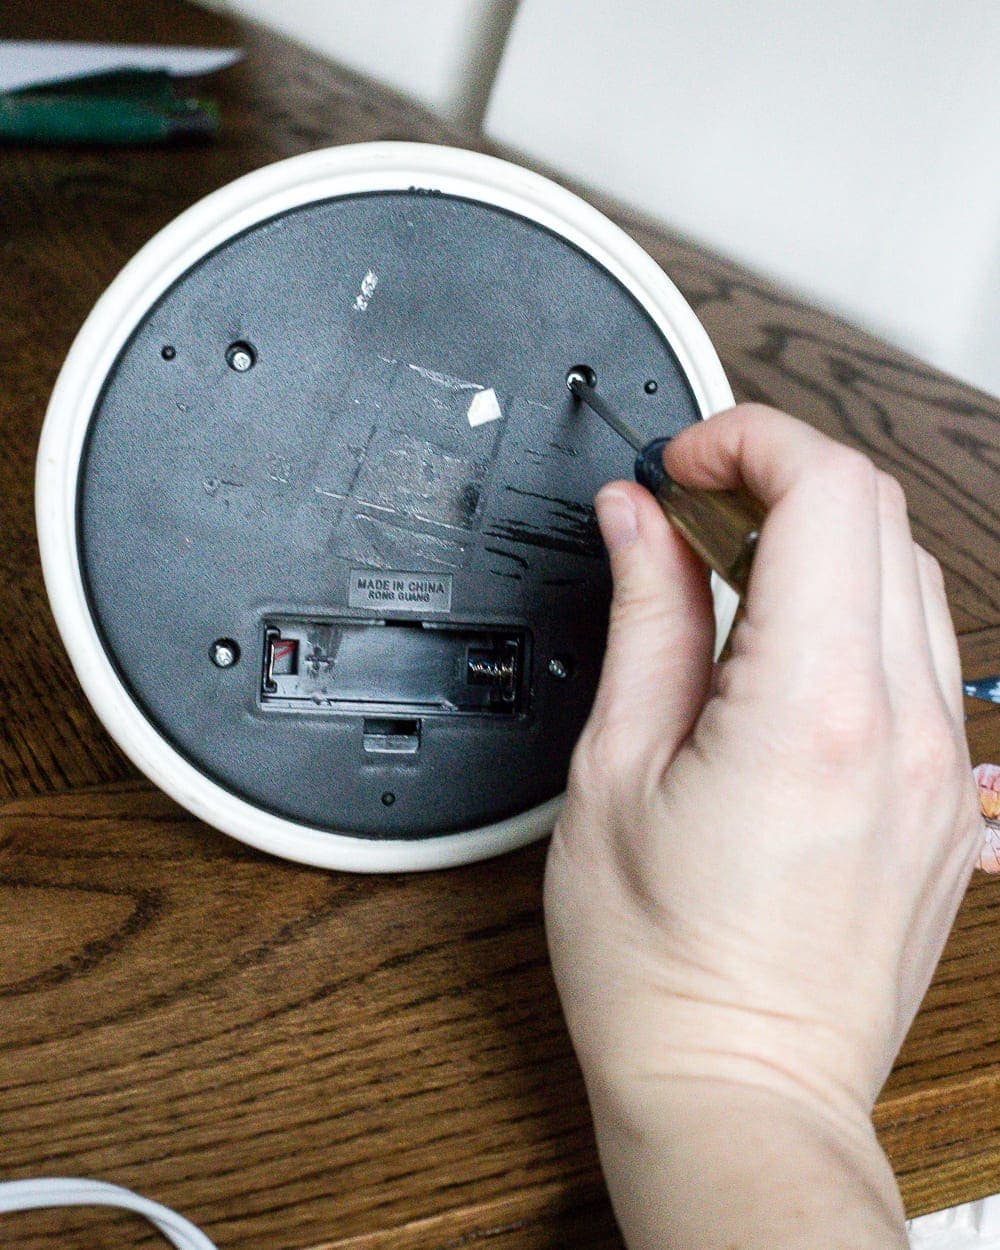
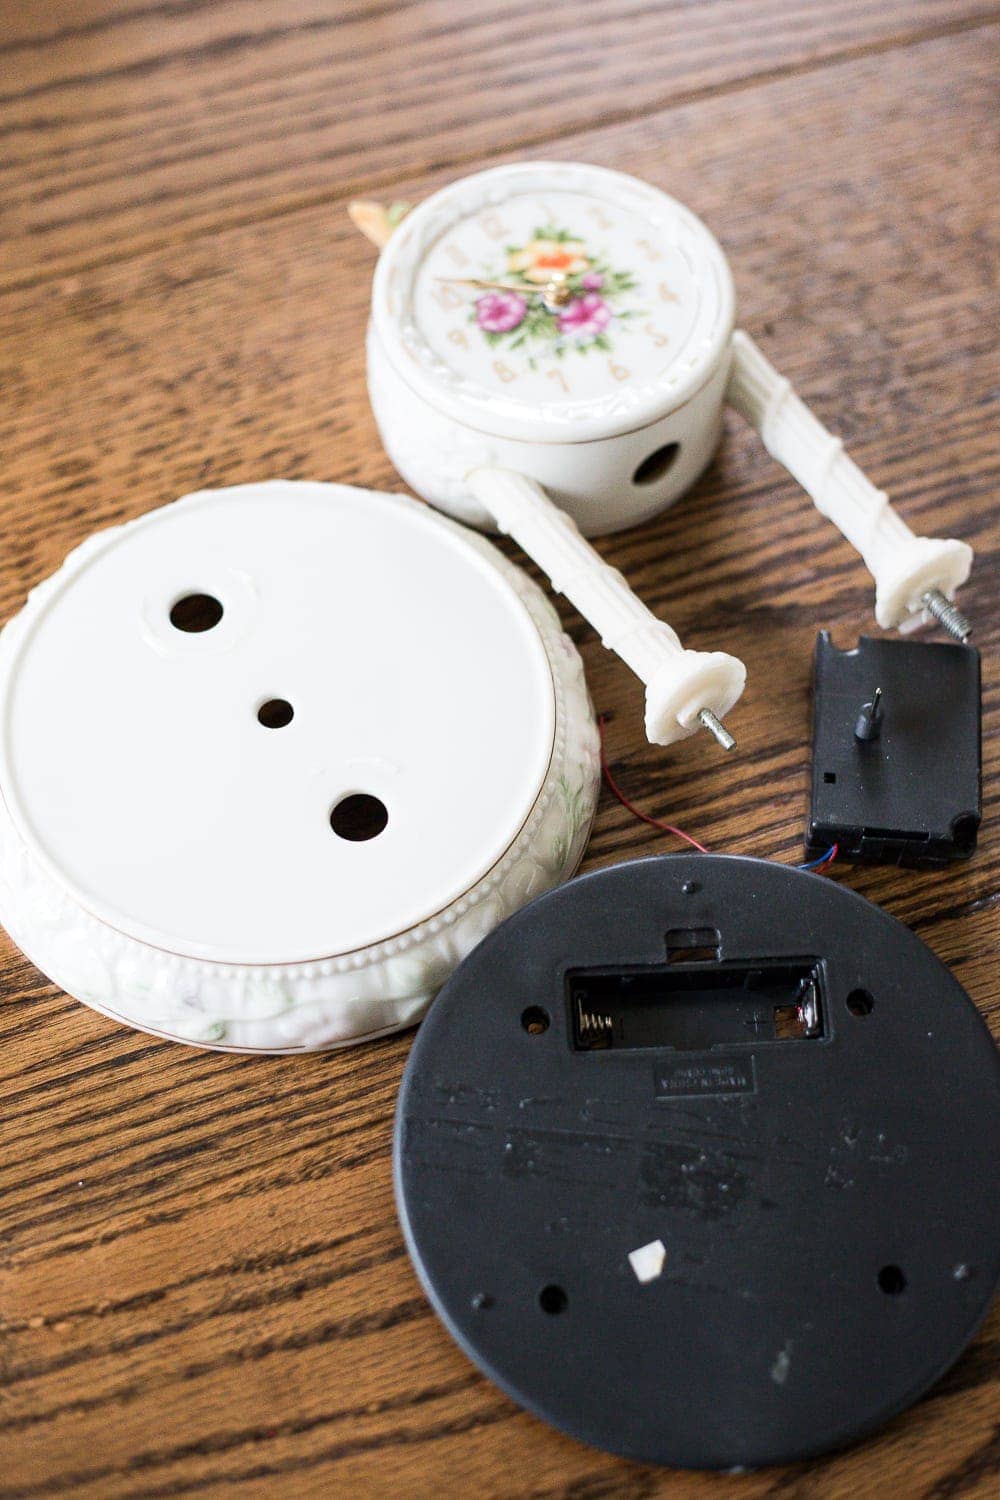
2. To remove the “clock guts”, I flipped it on its side and used the Phillips head screwdriver to unscrew the bottom of the clock. The clock popped right off of the base. I felt a little sad for that sweet clock, but some of the hummingbirds on it were broken and the mechanism was totally busted inside.

3. Push the twig through one of the holes in the base (there usually is at least one hole that held the clock in place), and hot glue the twig underneath and on top of the base. Let dry.
4. Hot glue moss at the base of the twig.
5. Using the butterflies you cut out from before, fold them in half to make them 3-D, and hot glue them onto the twig where you prefer.

So cute! The whole thing only took a few minutes. Olivia is visiting some of our family out-of-state this week, and I just know she will be psyched when she sees this thing when she gets back home.

I’m really going to crank out as much of her bedroom makeover as I can while she’s gone so that it can be a big surprise for her. I’ll probably put this sweet little cloche on a shelf in her room, but for right now, I’m loving the whimsical touch of spring on our entry chest.

You can check out all of the rest of the before and afters from the Trash to Treasure Transformation Tuesday crew over on their blogs:

(Clockwise from top left) Prodigal Pieces | Girl in the Garage |
Artsy Chicks Rule | Confessions of a Serial DIYer
If you want more thrift store decorating ideas, you can see all of our past Trash to Treasure Tuesday posts here.
Got any good junk you’ve found lately that you’re excited to transform soon? Tell me all about it!

The post DIY Butterfly Terrarium Cloche appeared first on Bless'er House.


No comments:
Post a Comment